This Easy Apple Crisp Made in One Pan is the kind of cozy skillet dessert that makes a regular weeknight feel a little more special. Juicy cinnamon apples bake under a buttery oat topping until the edges bubble and the top turns golden, crisp, and crumbly. It tastes like fall in a cast iron skillet, but honestly, I make it any time there are a few apples sitting on the counter.
The best part is how unfussy it is. No pie crust, no mixer, no complicated chilling time, and no pile of dishes waiting for you afterward. The apples go straight into the skillet, the topping comes together quickly, and the oven does the rest. Serve it warm with vanilla ice cream after Sunday supper, bring the skillet to the table for a casual dinner with friends, or bake it on a Tuesday night when everyone wants something sweet and homemade.
Why You'll Love This One-Pan Apple Crisp
- It is made for weeknights: The prep is simple, the ingredients are familiar, and the bake time is hands-off.
- One pan keeps cleanup easy: The apple filling bakes right in the cast iron skillet, so you are not juggling multiple baking dishes.
- The texture is everything: Tender, juicy apples meet a crisp oat topping with buttery brown sugar flavor.
- No pie crust required: You get all the cozy apple dessert flavor without rolling, chilling, or crimping dough.
- It looks beautiful on the table: A warm cast iron skillet of apple crisp feels rustic, generous, and ready to share.
A Cast Iron Dessert for Busy Nights
At Cast Iron Weeknight Kitchen, we love recipes that work hard without asking too much from the cook. This apple crisp is exactly that kind of dessert. A cast iron skillet holds heat beautifully, helping the apples soften evenly while the topping browns into little crunchy clusters. It also makes serving easy: set the skillet on a trivet, pass around bowls, and let everyone scoop their own portion.
Apple crisp is a great reminder that dessert does not need to be fancy to be memorable. The filling is just sliced apples tossed with lemon juice, sugar, warm spices, vanilla, and a little cornstarch to thicken the juices. The topping uses oats, flour, brown sugar, cinnamon, salt, and cold butter. As it bakes, the apples release their juices and the topping turns crisp around the edges while staying slightly tender in the middle.
Best Apples for Apple Crisp
You do not need an elaborate blend of apples, but choosing good baking apples makes a difference. Granny Smith apples are a classic choice because their tartness balances the sweet topping and they hold their shape well. Honeycrisp, Pink Lady, Braeburn, Jonagold, Fuji, and Golden Delicious are also great options. If you have a few different varieties, use a mix. Combining tart and sweet apples gives the filling more depth and keeps every bite interesting.
Peeling the apples is up to you. Peeled apples create a softer, more traditional apple crisp texture. Leaving the peels on makes the recipe faster and gives it a rustic skillet-dessert feel. For weeknight cooking, I often peel half the apples and leave the rest unpeeled, especially when the skins are thin.
Tools You'll Need
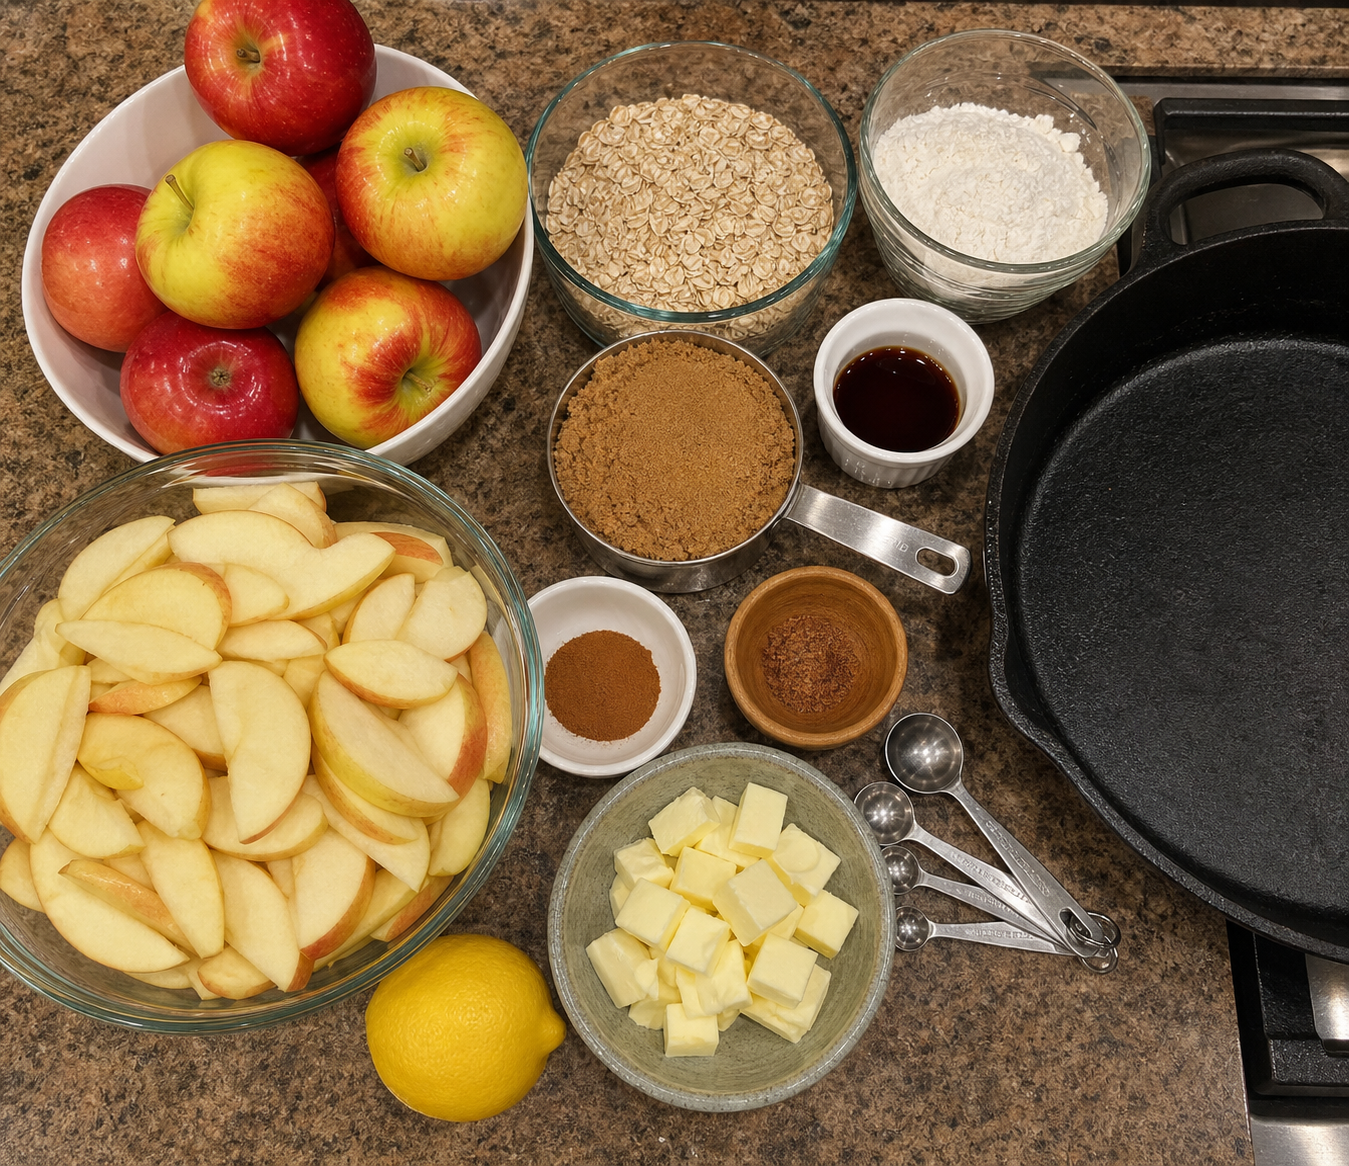
- 10-inch cast iron skillet: This is the ideal size for a thick fruit layer and crisp topping. A 12-inch skillet works too, but the crisp may bake a few minutes faster.
- Mixing bowl: Use one medium bowl for the oat topping.
- Pastry cutter or fork: This helps cut cold butter into the topping until it forms crumbs.
- Sharp knife: Even apple slices bake more evenly, so a good knife helps.
How This Apple Crisp Comes Together
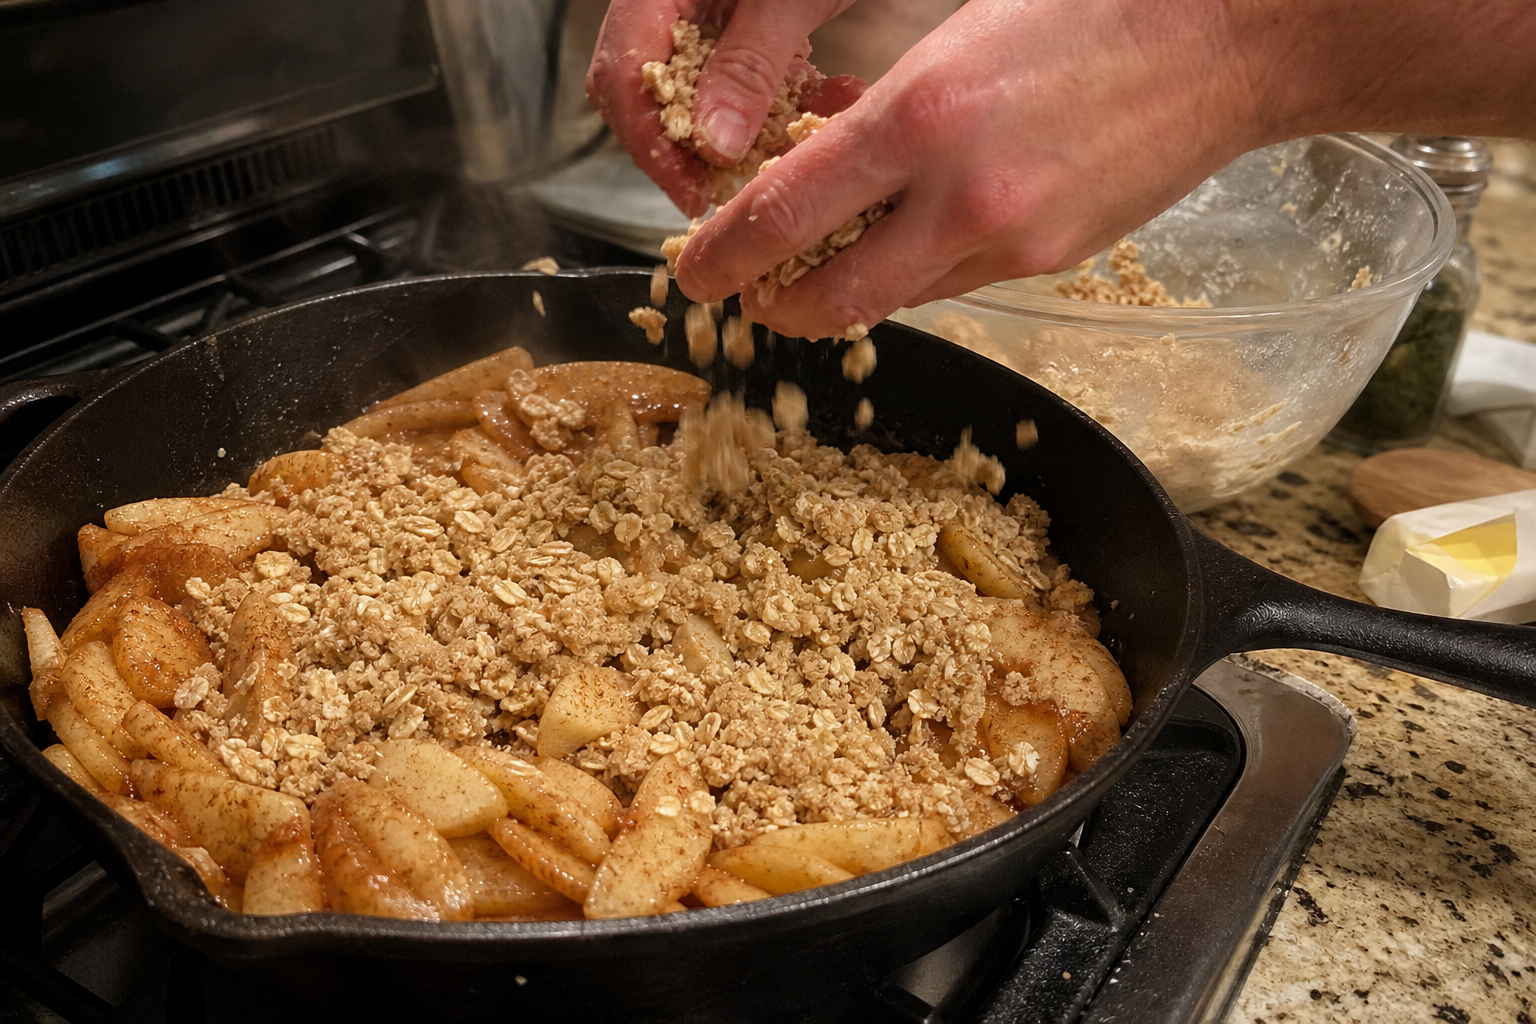
Start by heating the oven to 350°F and lightly buttering your cast iron skillet. Thinly slice the apples so they cook through in about 35 minutes. The slices do not need to be paper-thin, but try to keep them fairly even. Toss them directly in the skillet with lemon juice, sugar, cornstarch, vanilla, cinnamon, nutmeg, and a pinch of salt. The cornstarch is small but important because it helps turn the apple juices into a glossy filling instead of a watery puddle.
Next comes the topping. Stir together oats, flour, brown sugar, cinnamon, and salt, then cut in cold butter. You want the mixture to look crumbly with some pea-sized pieces of butter still visible. Those little bits melt in the oven and create the golden, crisp topping everyone tries to steal first. Sprinkle the topping evenly over the apples, but do not pack it down. Leaving it loose helps it bake up crunchy.
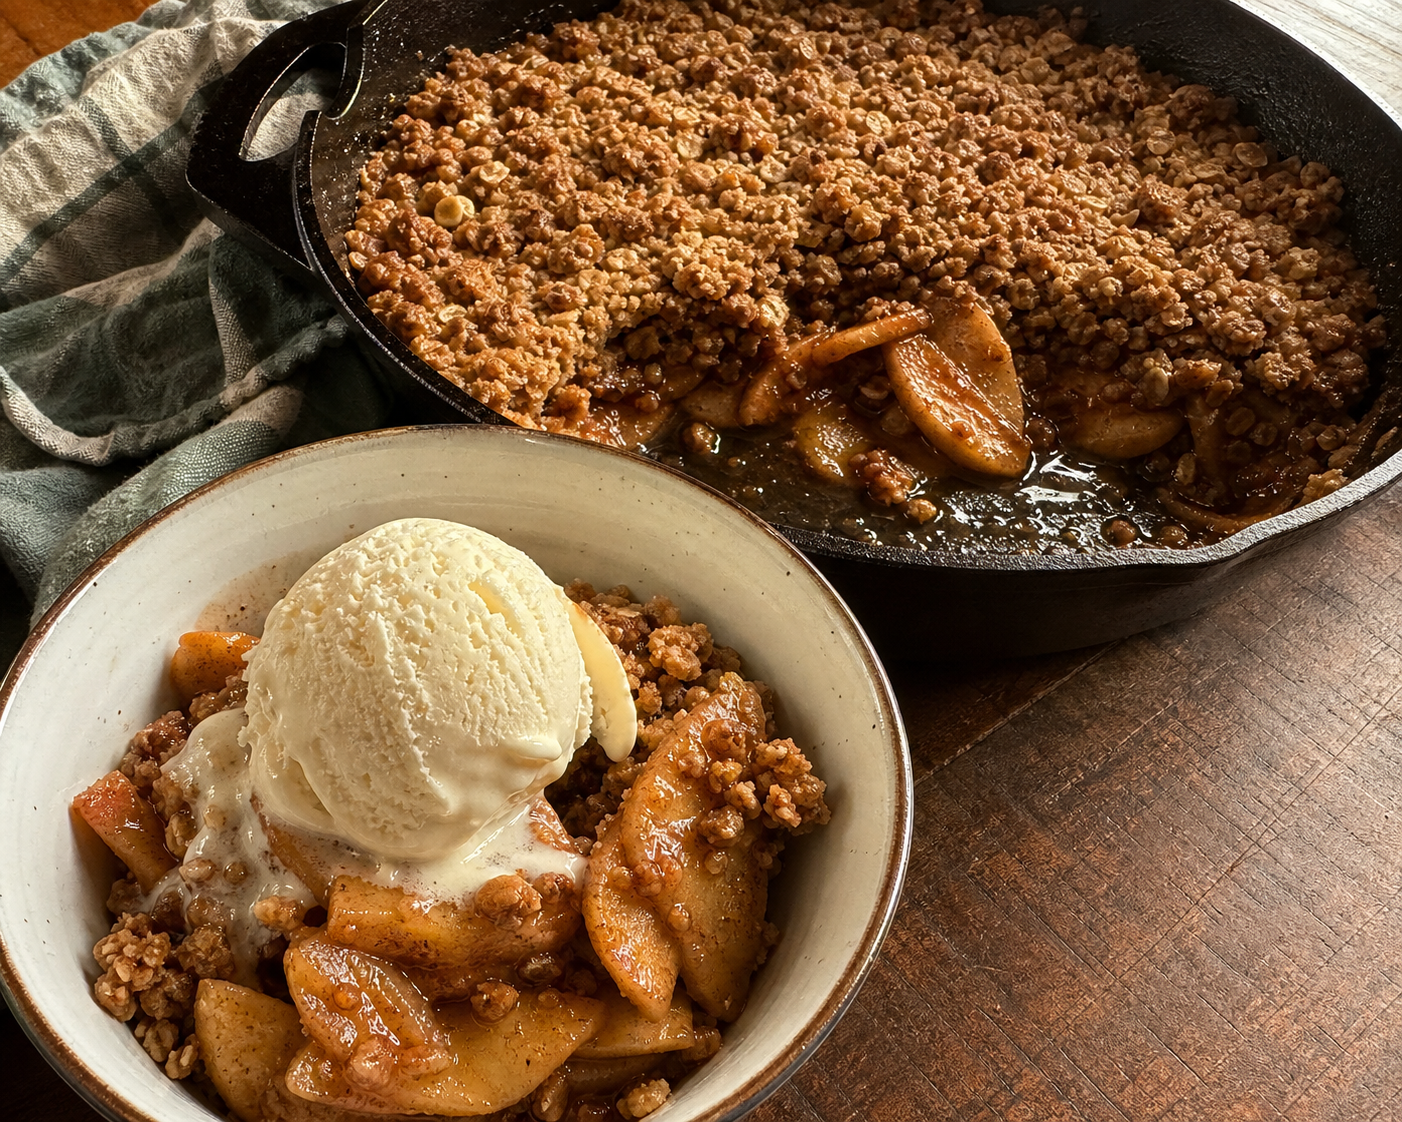
The crisp is done when the topping is golden and the apple filling is bubbling around the edges. If you are unsure whether the apples are tender, slide a small knife into the center. It should meet very little resistance. Let the skillet rest for 10 to 15 minutes before serving so the filling can thicken slightly. Then scoop it warm into bowls and add vanilla ice cream, whipped cream, caramel sauce, or nothing at all. It is wonderful either way.
Serving Ideas
This skillet apple crisp is best served warm, especially when the topping is still crunchy and the fruit is soft and fragrant. A scoop of vanilla ice cream is the classic pairing because it melts into the cinnamon-spiced apples. For a slightly less sweet option, try lightly sweetened whipped cream or plain Greek yogurt. A drizzle of caramel sauce makes it feel more like a special occasion dessert.
If you are serving it for brunch, warm leftovers and spoon them over yogurt, oatmeal, pancakes, or waffles. The crisp topping softens a little after chilling, but it still tastes buttery and delicious. To bring back some crunch, reheat portions in the oven or air fryer instead of the microwave.
Make-Ahead Notes
You can prep parts of this recipe ahead, but it bakes best when assembled shortly before going into the oven. The topping can be mixed up to 2 days ahead and stored in the refrigerator. The apples can be sliced a few hours ahead and tossed with lemon juice, sugar, spices, and cornstarch, then covered and chilled. When ready to bake, spread the apples in the skillet, add the topping, and bake as directed.
If your skillet is well-seasoned, this crisp releases beautifully and serves cleanly. Because the filling contains sugar and fruit juices, let the cast iron cool before cleaning, then wash gently, dry thoroughly, and rub with a thin layer of oil if needed.